My Eyes! The Goggles Do Nothing!
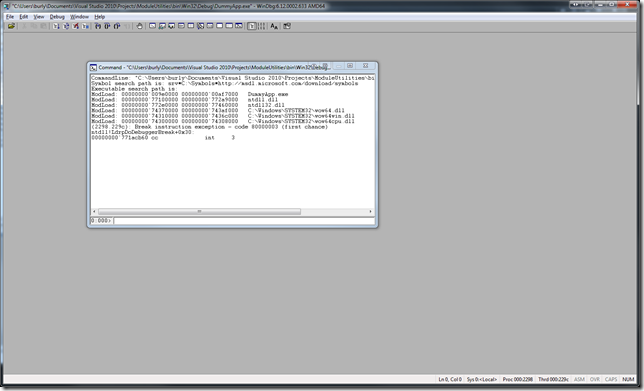
WinDbg is a great tool for kernel and application debugging. Unfortunately, out of the box it also has a pretty useless workspace layout and (imho) a terrible color scheme. There are several themes that ship with it, if you look in the themes subdirectory of where the Debugging Tools are installed (e.g. C:\Program Files\Debugging Tools for Windows (x64)\themes). There is a also a themes.doc file that provides a bit of background on loading workspaces as well as providing screenshots of the provided workspaces.
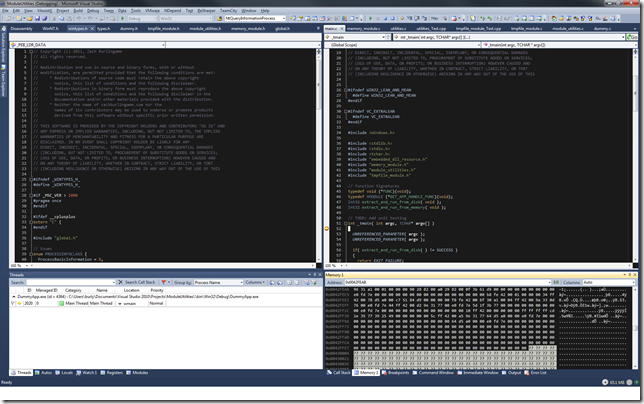
I’m personally a big fan of dark color schemes as I find black-on-white strains my eyes after hours of staring at the monitor, even with the brightness and contrast levels adjusted. What I really want in WinDbg is a color scheme closer to what I use for Visual Studio with a layout most similar to another great debugger, OllyDbg. None of the provided workspaces come even close to what I want. I did some searching around but other than this article, I came up empty on any helpful content.
Understanding WinDbg Workspaces
The workspace includes the displayed windows, the window positions, font, color scheme, open files, register order, source file directory, symbol file directory, image file directory, and probably a few other tidbits that I’m forgetting.
WinDbg breaks the workspaces out into four types – Dump, Explicit, Kernel, and User. Dump is used when you are debugging a dump file, explicit is when you create an custom workspace for a specific project (i.e. explicitly), kernel is for kernel debugging, and User is for …. regular user applications. WinDbg stores the settings for each of these types of workspaces in a matching registry key located under HKCU\Software\Microsoft\Windbg\Workspaces. In each of these keys is a binary value named “Default”. Additionally, there is an over-arching binary value named “Default” in the top-level Workspaces key. As far as I can tell, the top-level Default values are used for any workspace type but are superseded by any values in the nested keys. In practice however, I found it infuriating trying to determine exactly which inheritance style would be used between the two levels. As a result, I filled in values for everything in one of the workspaces and then just copied the “Default” value to each of the other four locations so that they were identical.
Customizing Your Workspaces
I first start by deleting any existing HKCU\Software\Microsoft\Windbg\Workspaces key (back it up first if you want to be able to restore what you had). Then I open WinDbg and add all the windows I wish to see. Once I get them laid out how I want, I edit the Font and Colors. Since I was basing the color scheme off an existing one, I found it easiest to take the 10 or so different colors and add them all to the custom colors palette for the process first. NOTE: The custom color palette does NOT persist beyond a restart of the application! Once you have the color palette, it’s just a matter of walking through each of the objects and selecting one of the existing colors. Once I’ve settled on the layout and color scheme, I select File->Save Workspace As… and use the name Default. Finally, I copy the Default binary value from the sub-key that was just created under HKCU\Software\Microsoft\WinDbg\Workspaces and copy it to the remaining four locations. Then it’s just a matter of exporting the Workspaces key to a file. It’s rather tedious but once you get this done once, you just import the registry key on any machine where you want to use WinDbg.
Final Results
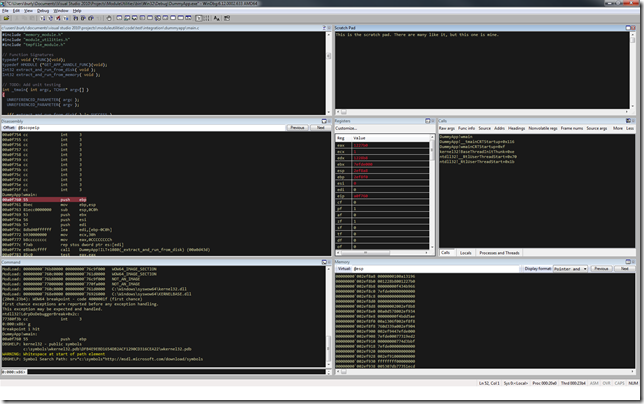
This is ultimately what I came up with. It’s not perfect but it “feels” familiar enough to me that I’m happy with it. Getting here though, was a real chore. If you want my registry key for this settings, you can get it here. Note that this registry key contains some path information that is specific to my machine (e.g. source path) that’ll need to update once you install the key on your machine.


Leave a Reply